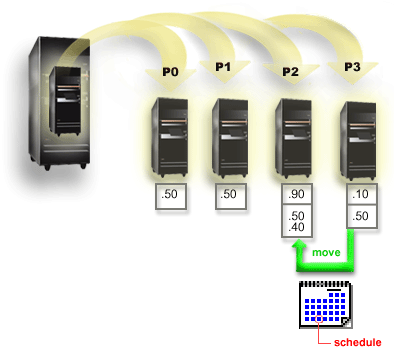
You must complete each of these tasks to move processing power and to schedule the move to occur monthly.
To schedule a shared processor move using the service tools window, follow these steps.
- In iSeries™ Navigator, select My Connections or your active environment.
- Select Open iSeries Navigator service tools window in the Taskpad window. If the Taskpad window is not displayed, select View and select Taskpad.
- Enter the IP address of the service tool network interface to which you want to connect. Click OK.
- You will be prompted for your Service Tools User ID and password.
- Expand the system name select Logical Partitions.
- Right-click the logical partition and select Configure Partitions. You are now working in the Configure Logical Partitions window.
- Right-click the shared pool processors you want to move and select Move.
- Specify the number of units in the shared processor pool to move in Amount to move.
- Click Schedule to specify when you want the move to occur.
- In the Management Central Scheduler window, select how often you want the processing power to move and what time you want the move to occur. Your selections will appear in the Summary at the bottom of the window.
- Click OK.
You will want to set the processing power back to its original configuration once the monthly workload demands are over.
